
New Project
A quick tutorial on how to create a new project & set user rate limits.
Project Creation Flow
Polyfire is what is called a managed backend, it means that we handle all the backend part of your app, so that you only have to focus on the client side part. (The Front End, which typically is React, React Native or another mobile or web library.)
The Flow is always the same:
- Create a new project on the Developer Console
- Install an initialize your Polyfire project on your client code
- Make calls to your Polyfire Backend API in your client code using the various methods and interfaces of the Polyfire JavaScript SDK
Step by step
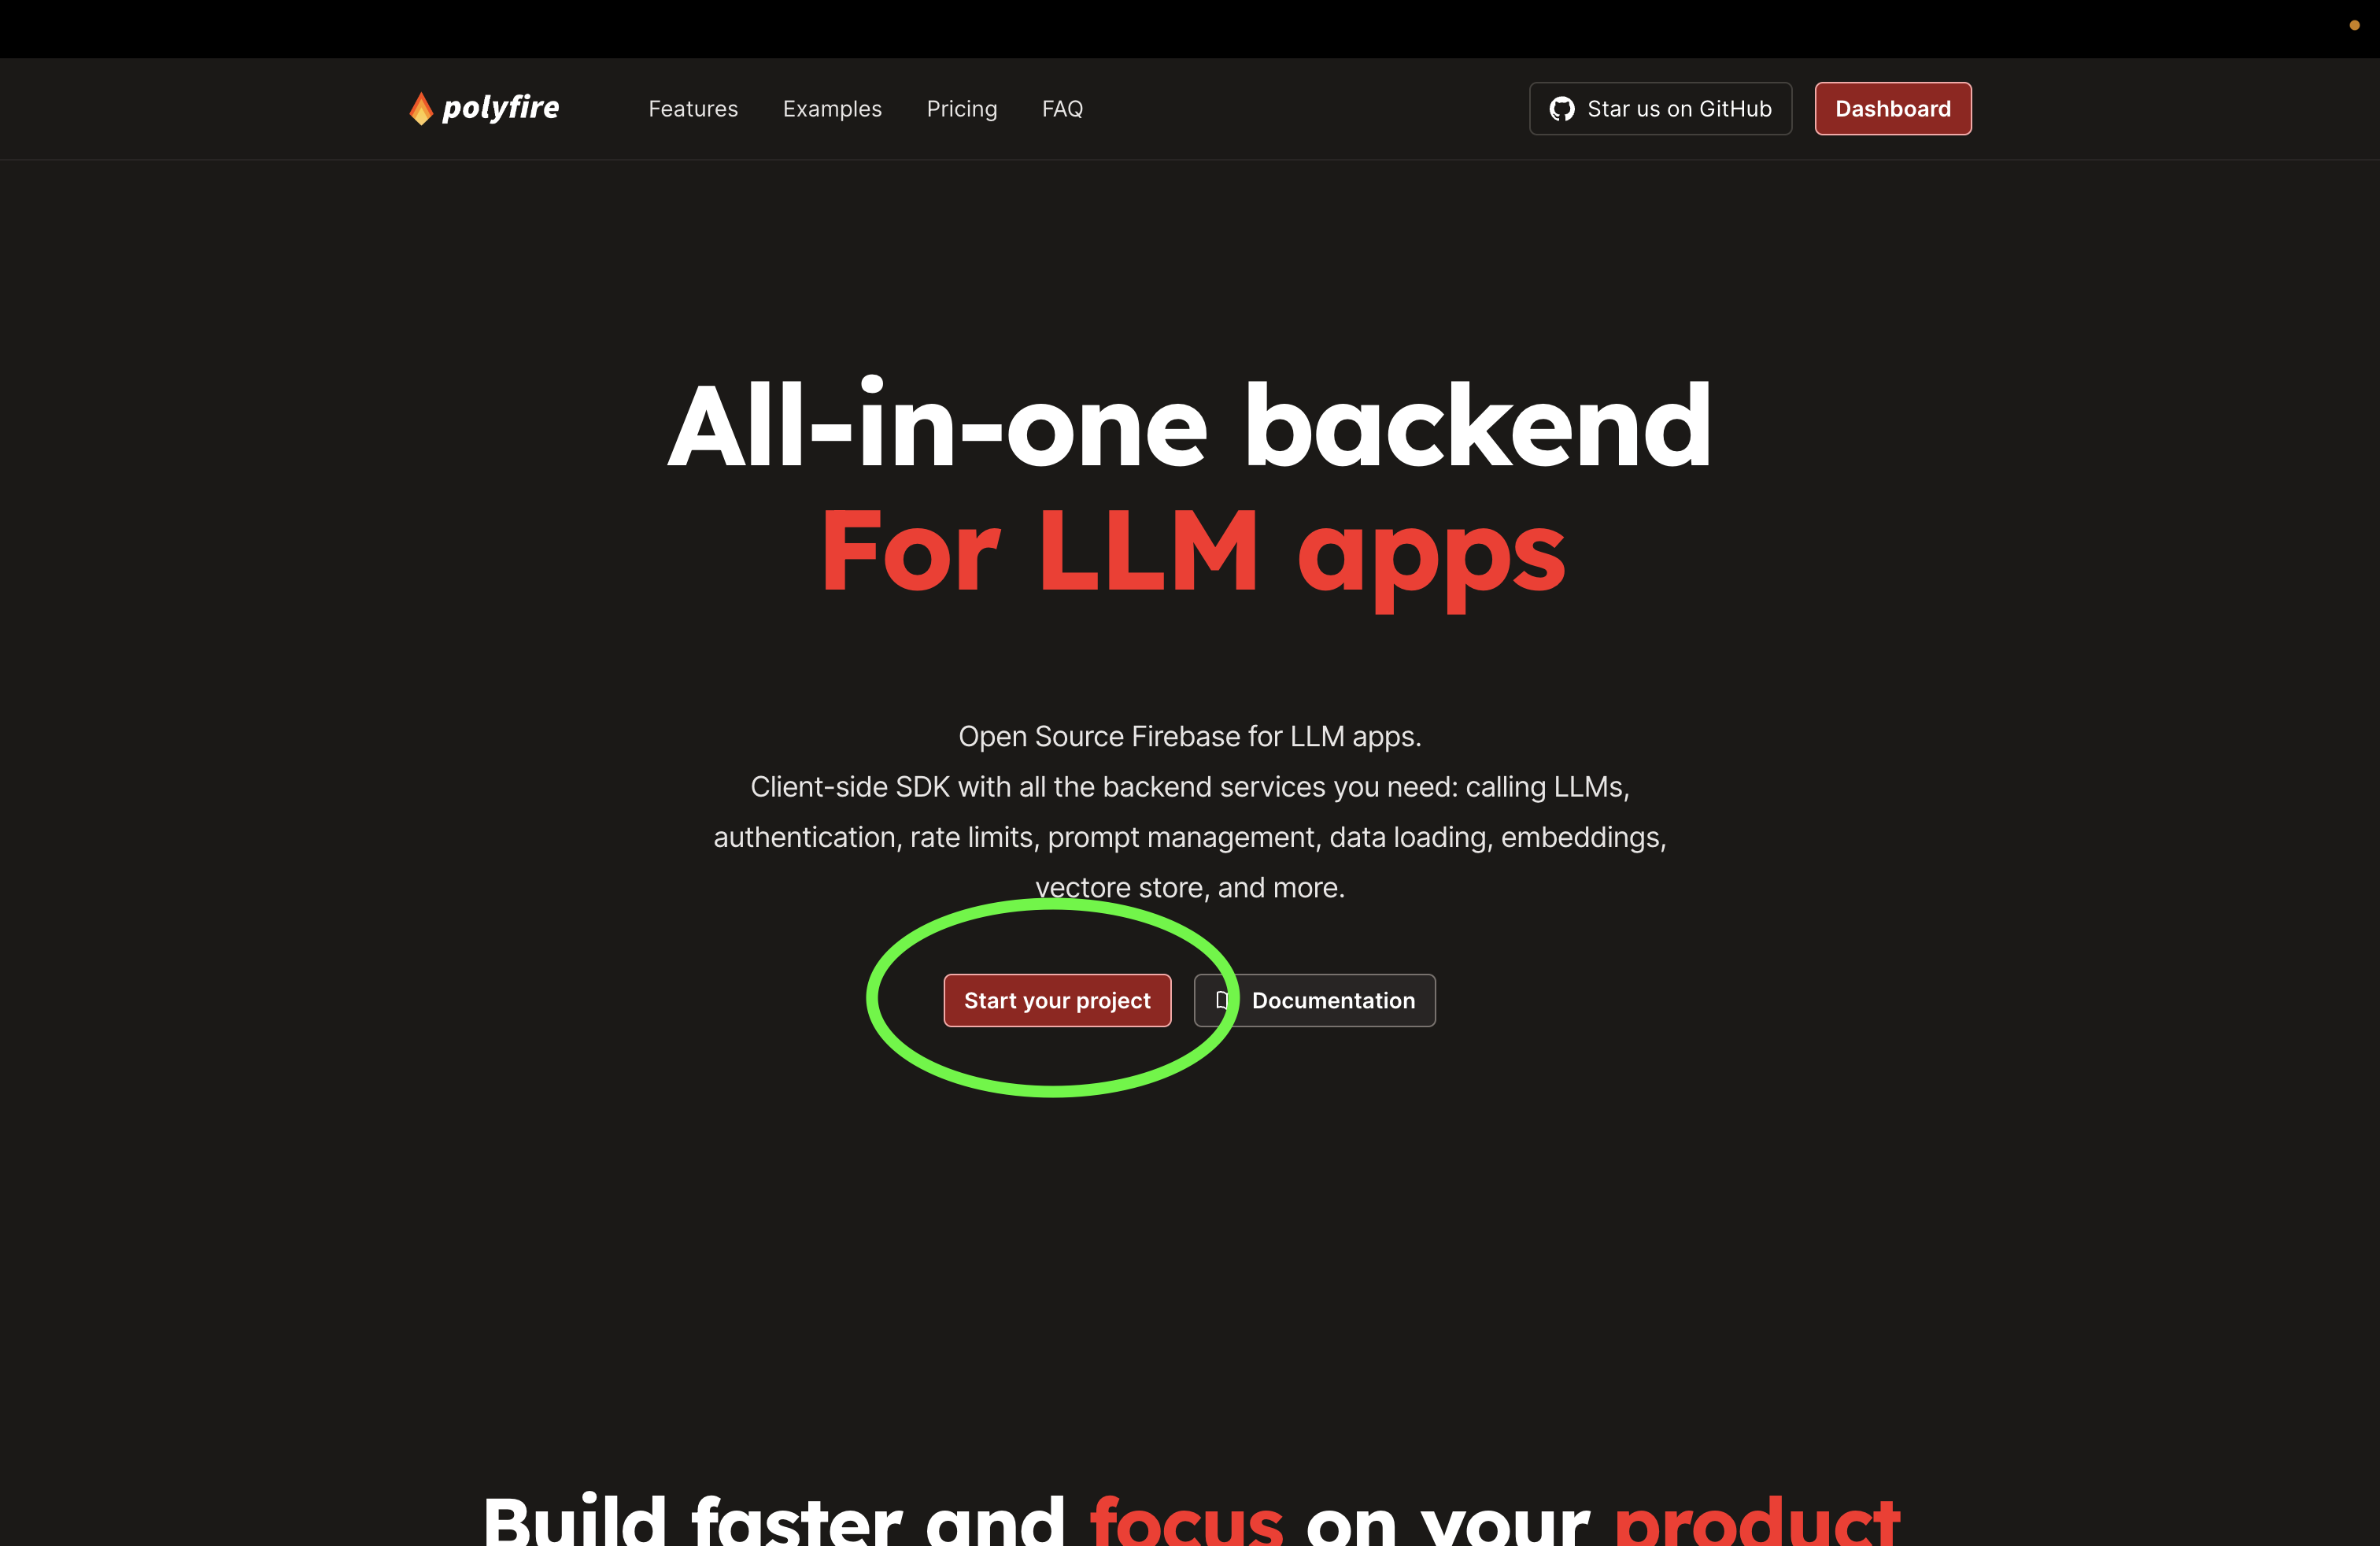
1. Navigate to the Developer Console
From www.polyfire.com click on the "Start your project" button, or go directly to beta.polyfire.com, to get to the dashboard. There you can sign in with your GitHub or Google account.
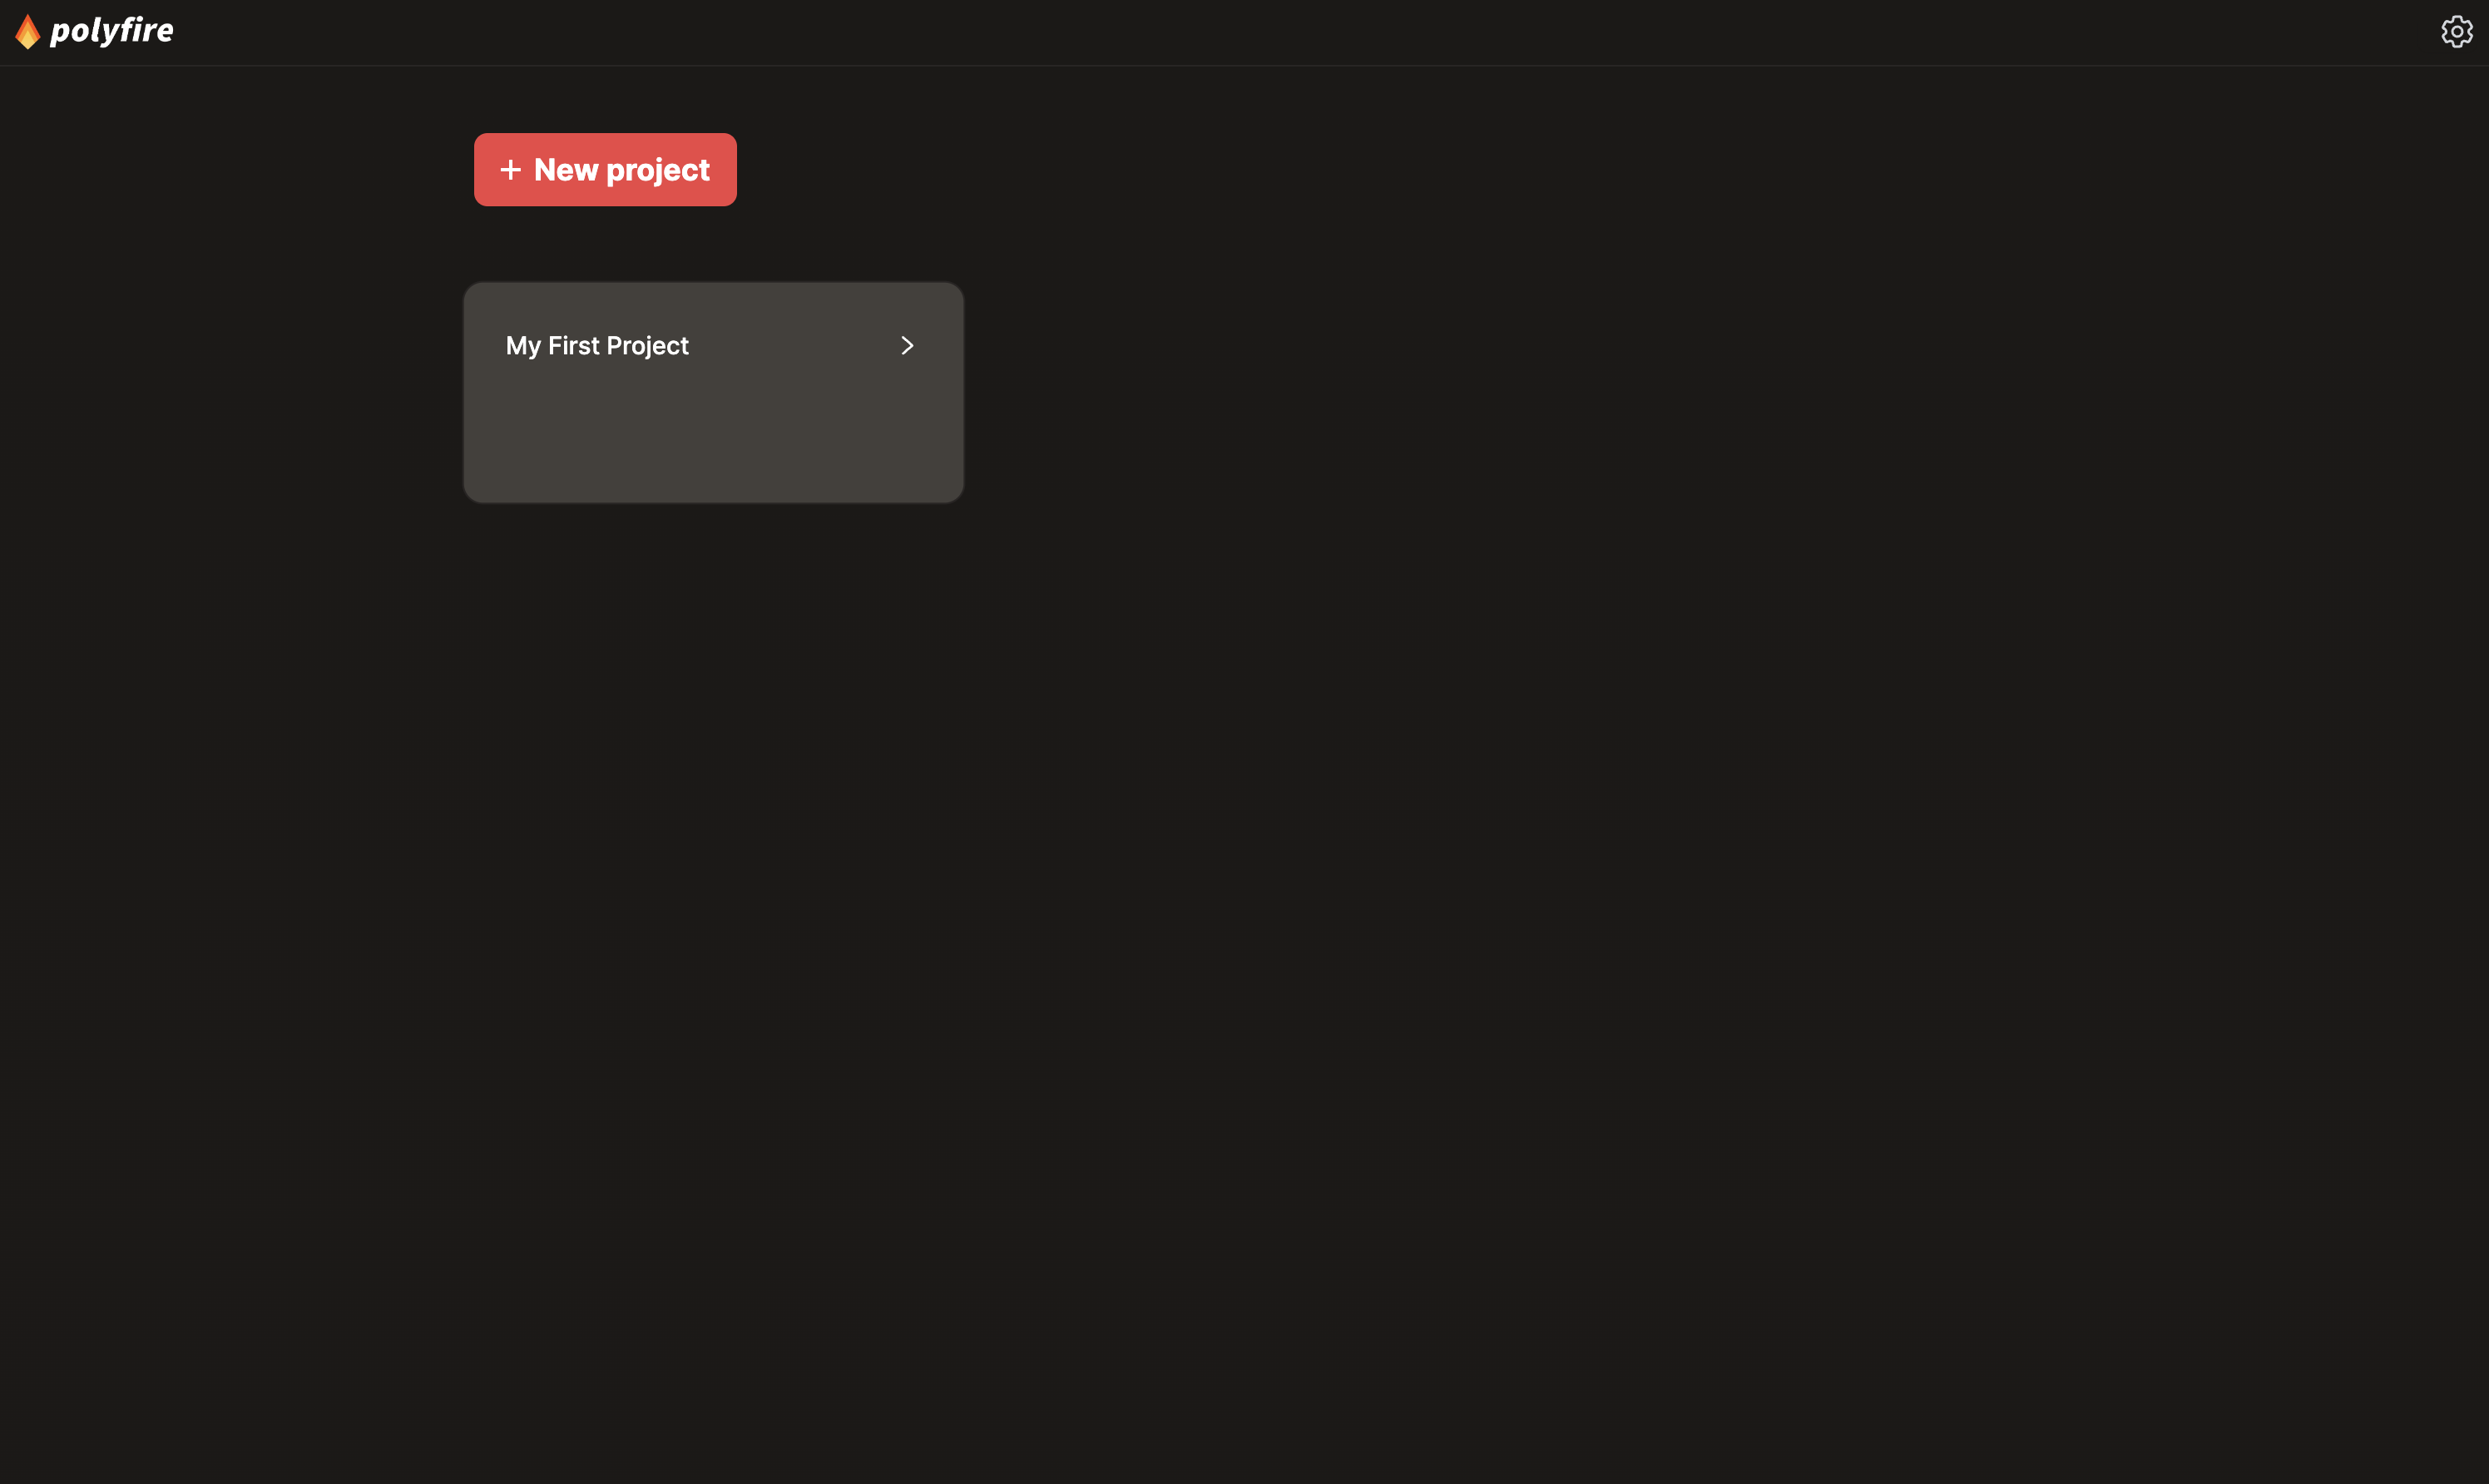
2. Create a new project
From the home page, you can create a new project or use the default sandbox project that is created with each new account.
3. Copy the project slug or starter code
After creating the project, you will be redirected to the Project Hone Page.
From this page copy the project slug or the starter code (which as your project slug in it) and paste it in your client side code set init Polyfire.
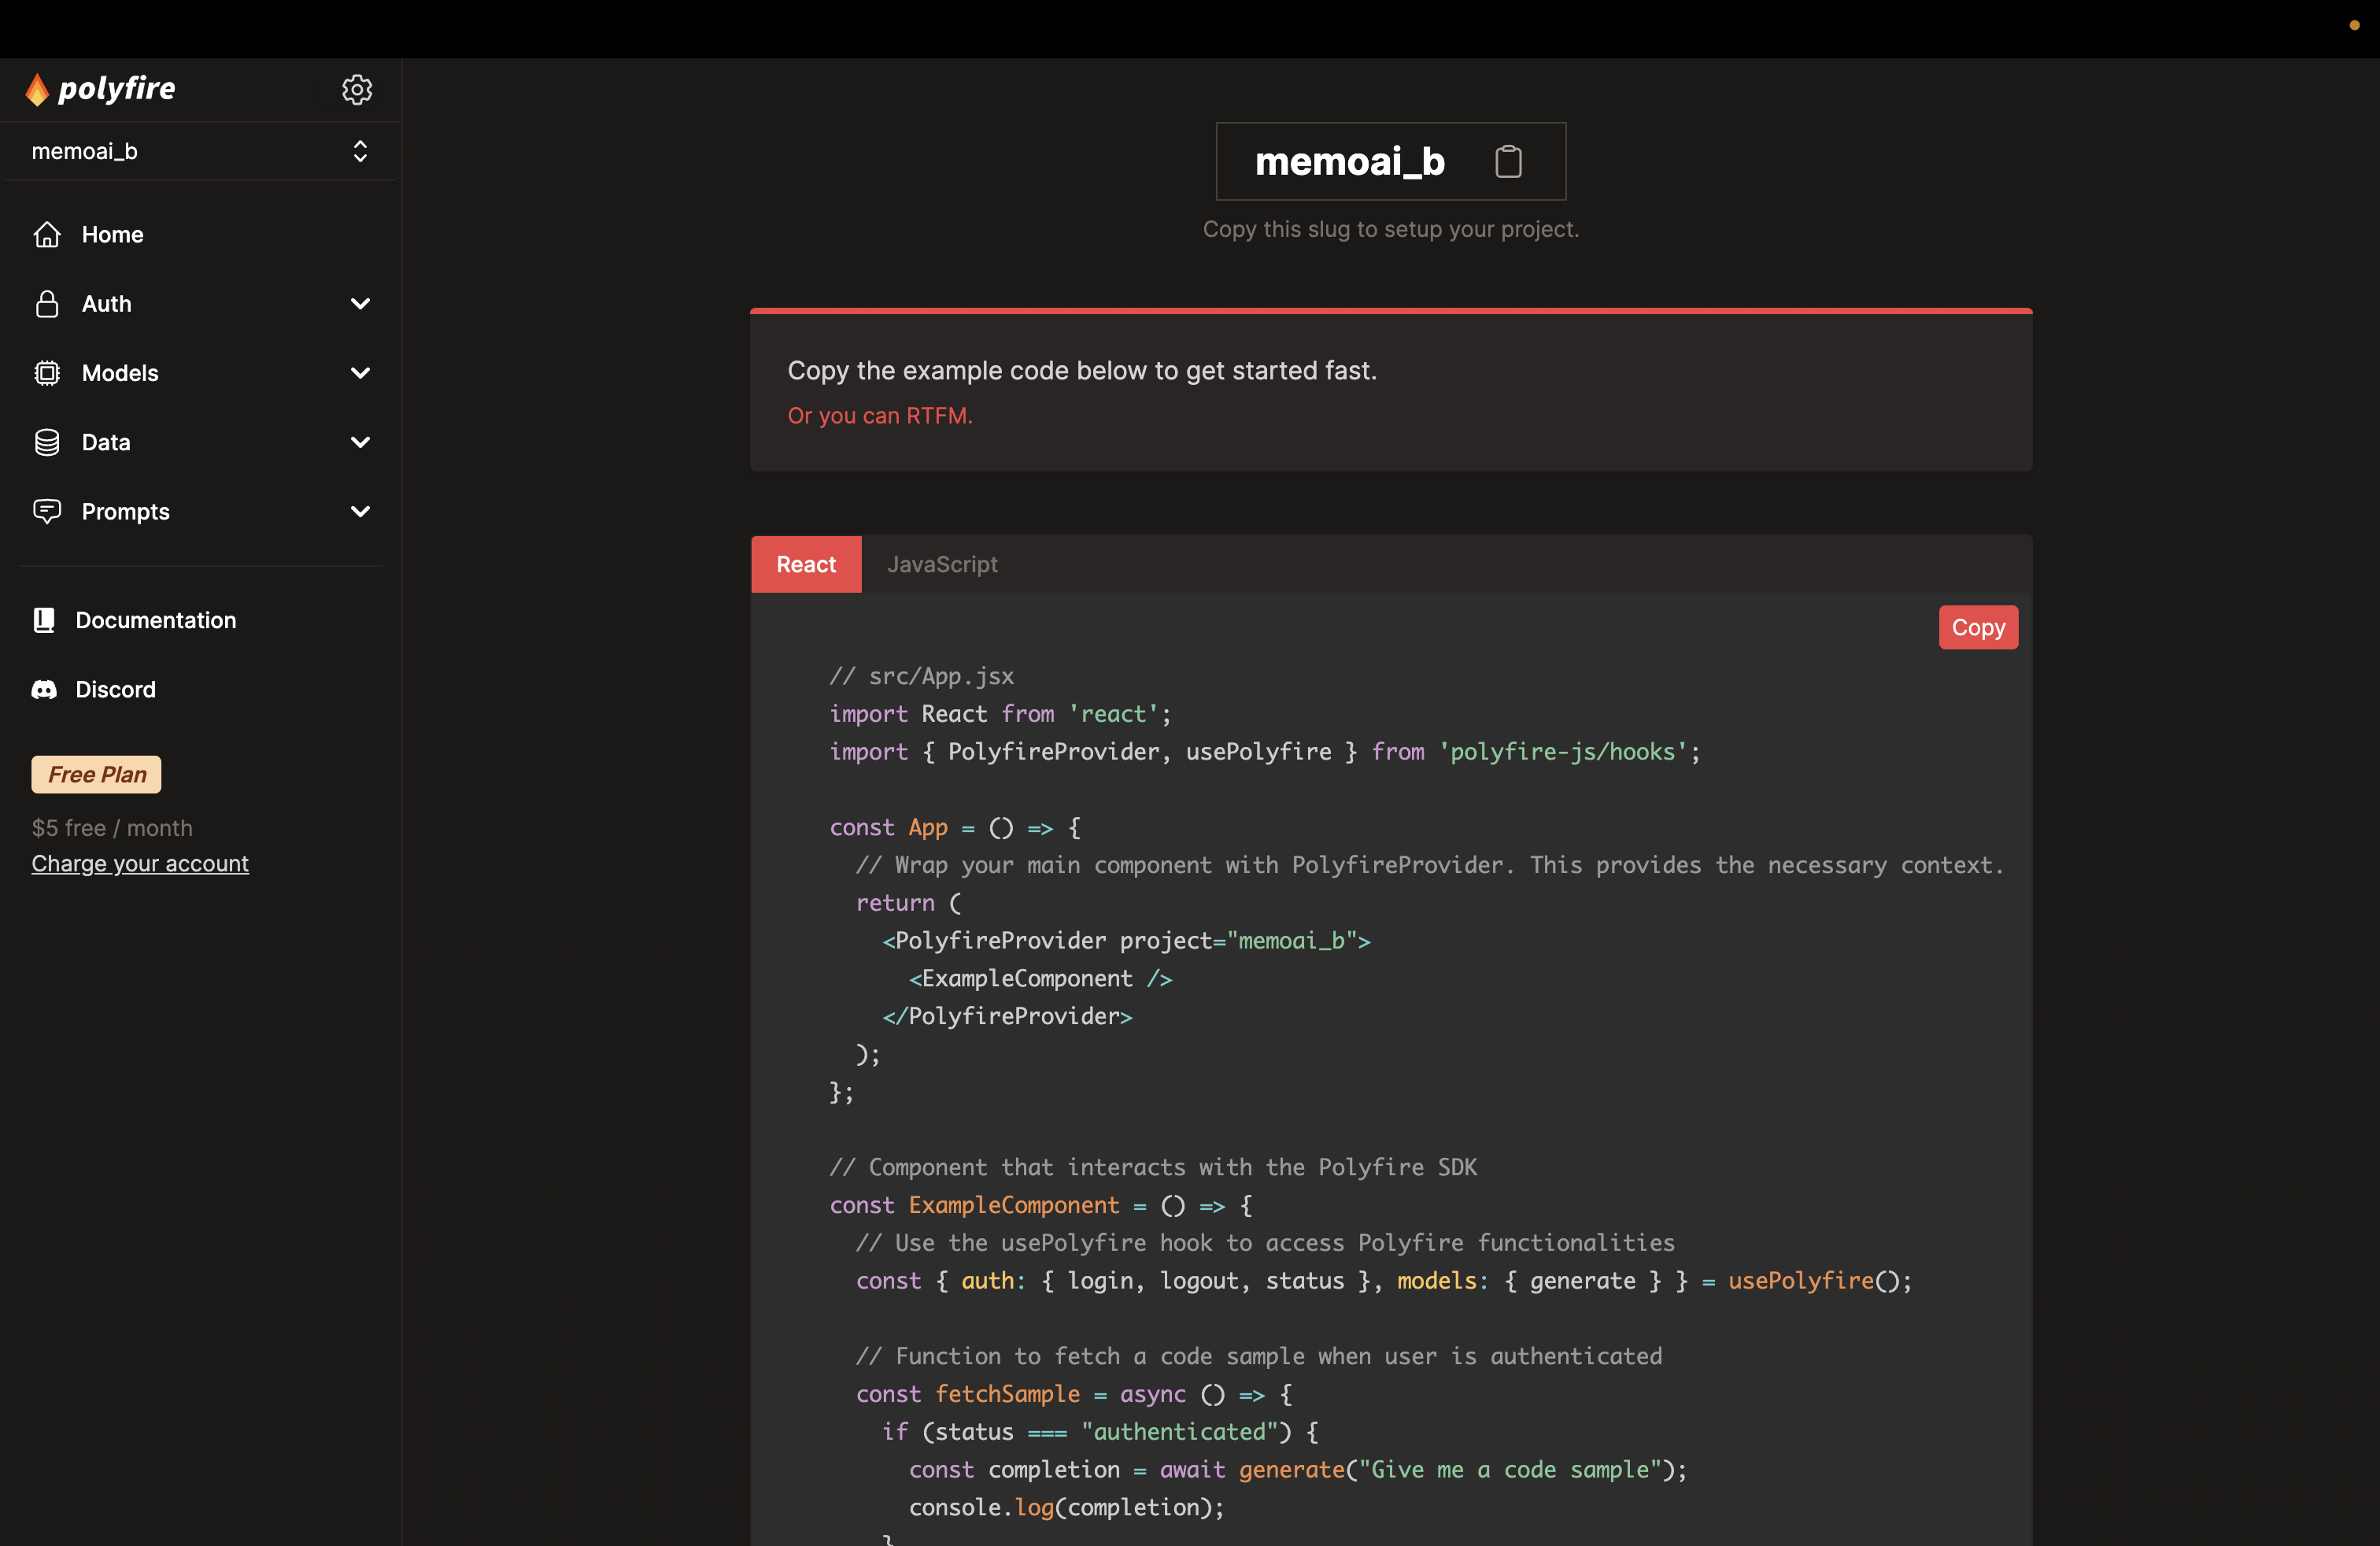
4. Initialize Polyfire in your Front End
On your client-side code, you can setup the Polyfire SDK by injecting the Project Slug into the Polyfire Provider (if your using React) or in the init() function (Javascript).
Example code for a React App is shown below. This is the same code than the starter code on the dashboard but without your project slug.
    // src/App.jsx
    import React from 'react';
    import { PolyfireProvider, usePolyfire } from 'polyfire-js/hooks';

    const App = () => {
      // Wrap your main component with PolyfireProvider. This provides the necessary context.
      return (
        <PolyfireProvider project="your_project_alias">
          <ExampleComponent />
        </PolyfireProvider>
      );
    };

    // Component that interacts with the Polyfire SDK
    const ExampleComponent = () => {
      // Use the usePolyfire hook to access Polyfire functionalities
      const { auth: { login, logout, status }, models: { generate } } = usePolyfire();

      // Function to fetch a code sample when user is authenticated
      const fetchSample = async () => {
        if (status === "authenticated") {
          const completion = await generate("Give me a code sample");
          console.log(completion);
        }
      }

      // Render buttons for authentication and fetching samples
      return (
        <div>
          <button onClick={() => login("github")}>Login with Github</button>
          <button onClick={() => login("google")}>Login with Google</button>
          <button onClick={() => logout()}>Logout</button>
          <button onClick={fetchSample}>Fetch</button>
        </div>
      );
    };

    export default App;
And that's it! You can call the Polyfire AI Backend through your app.
In this starter code, there are authentication functions for your users. You need user sessions to generate unique, rate-limited, API keys for each user. We show you how to do that in more details in that guide, but it's basically setup in the starter code.
Updated 9 months ago